I looked for a good Twitch Overlay Maker for quite some time. I even considered buying overlay frame from a Graphics creator. This however would have given me only the framework, and adding all the events and notifications to the overlay would still have been tricky. For that Reason I used rather Simple solution, which unfortunately did not look very high grade.
This all changed when i discovered Twitch supporting tool called StreamElements. As I explained what StreamElements offers in the Twitch Overlay Article (will be added shortly), in this article I will show you in few simple steps on how to modify the available Twitch Overlay with the Twitch Overlay Maker functionality StreamElements offers.
Creating Your won Twitch Overlay – BEST Twitch Overlay Maker – StreamElements
To create your own Twitch Overlay with Twitch Overlay Maker, you have to do the following:
- Register yourself in StreamElements.
- Go to https://streamelements.com/
- Click Connect with Twitch
After You are successfully logged in and your Twitch Channel is Connected do the following:
- Make Sure your selected Twitch Channel is the one you want to create the Twitch Overlay for (Step 1)
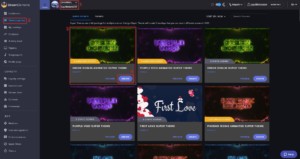
- From the Menu select Theme Gallery (Step 2)
- Choose your Super Theme (pack of overlays for different OBS Studio Software Scenes) or Theme (Single Overlay) (Step 3)
- Click Create, to create your own variation of the selected Theme (Step 4)
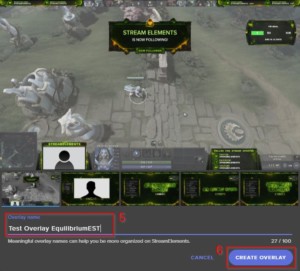
- Enter Overlay Name for that Twitch Overlay (Step 5)
- Click Create Overlay (Step 6)
Modify Your Twitch Overlay – BEST Twitch Overlay Maker – StreamElements
Now that you have created Your own variation of a Twitch Overlay you probably want to modify it to suite your needs. That you can do with StreamElements built in Twitch Overlay Maker Functionality.
To modify the Twitch Overlay you just Created, do the following:
- Go to https://streamelements.com/
- Login
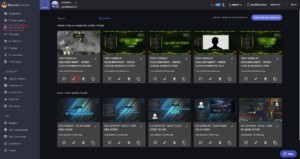
- Select My Overlays from the Menu (Step 1)
Under My Overlays you can see the Overlays you copied from the Master Overlay. In case you used Super Theme, you should see 5 different Twitch Overlays for 5 Different OBS Studio Software Scenes.
As the functionality behind using Twitch Overlay Maker is more or less the same for any variation, I will modify the Ingame Overlay. To do that:
- Click the pencil icon to edit the overlay (Step 2)
The View That opens now is not the best looking, and it is a bit messy. However you can see all the elements available (Added by the Twitch Overlay Creator) on your Twitch Overlay that you can edit with Twitch Overlay Maker.
To edit any of the visible elements:
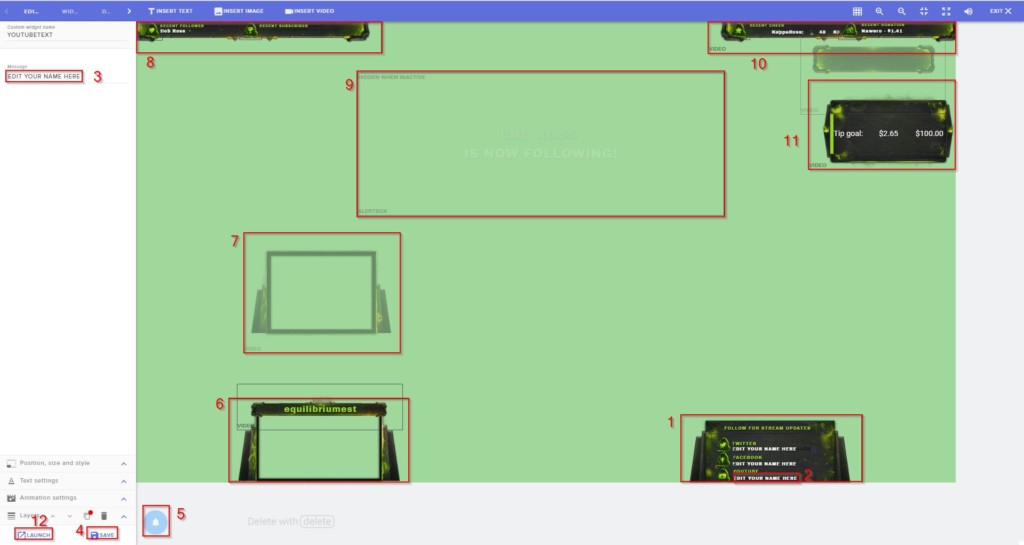
- Look for the element – Example Change your YouTube Name (Step 1)
- Click on the YouTube element Edit your name here text and the settings open on the left of the screen (Step 2)
- in the left edit your YouTube Name (Step 3)
- Click Save (Step 4)
- With Alerts button (Step 5) You can call up different alerts to see how they look.
- Using Launch Button (Step 12) you can open the overlay in new Browser Window so that it looks clearer and with alerts button you can call up events that show up also there.
Some additional elements that work more or less the same are:
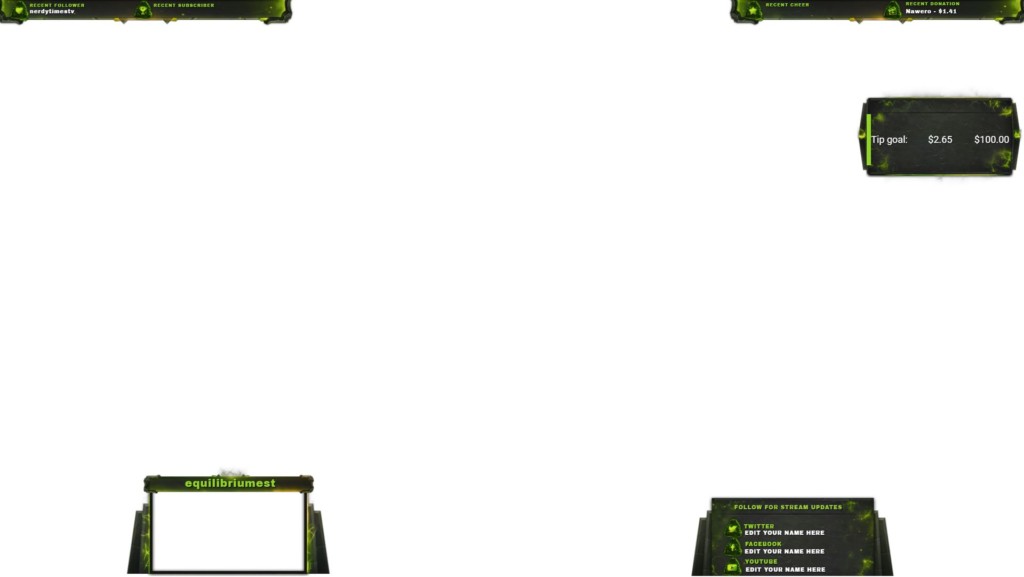
- 6 – Frame for your Webcam video – 16:9
- 7 – Alternative Frame for your Webcam – 4:3
- 8 – Recent followers and recent subscribers
- 9 – Alert box that shows all alert notifications
- 10 – Recent Cheer and Recent donation
- 11 – Tip Info
The Default Twitch Overlay in a browser looks something like this:
In Near future I will add Special Article to show how to add these Twitch Overlays you created with Twitch Overlay Maker to OBS Studio Software.
Related Posts
02.04.2018 – EqEST

